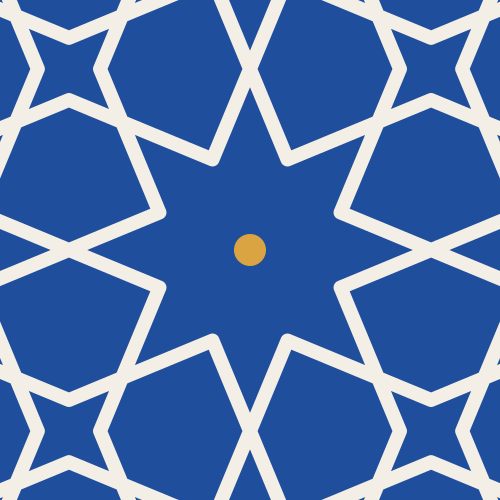
Islamic geometric patterns: how they are made, and how to draw them
Stars inside stars, lines that weave without end: Islamic geometric patterns look impossibly complex, but every one of them is drawn with two tools, a compass and a straightedge. This guide shows how, with figures computed by our own pattern software, so every angle is exact.
What they are
With calligraphy and scrolling plants, geometry is one of the three main kinds of non-figural decoration in Islamic art. The Metropolitan Museum of Art lists their basic repeat units as the circle, the square, other polygons and the star, "ultimately derived from squares and triangles inscribed in a circle". The shapes themselves were known in Greek, Roman and Sasanian art; artists in the Islamic world developed them into a new kind of decoration that, in the Met's words, "stressed the importance of unity and order" and, in its repetition, offers "the possibility of infinite growth" (The Met).
Every star starts with a divided circle
To draw a star with n points, divide a circle into n equal parts, then join the points with a ruler, skipping the same number each time. Dividing into four and eight is the first thing to learn: it is the whole of our eight-point star tutorial. Here are the two next steps.
A ten-pointed star
Dividing a circle into ten takes one clever compass move, the golden-ratio construction. Then join every third point.
1.
Draw a circle and a horizontal and a vertical line through its centre. Call the top point T.
2.
Find the middle of the right-hand radius: compass at the radius, arcs from the centre and from the right-hand point cross above and below. Rule between the crossings: call the middle M.
3.
Put the compass point on M and open it to T. Swing an arc down to the horizontal line, left of the centre: call it N.
4.
The distance from the centre to N is exactly one tenth of the way round. Open the compass from the centre to N.
5.
Keep that opening. From T, mark it off round the circle, point after point: ten marks bring you back to T.
6.
Ten points, 36° apart. Every other point gives five, for five-pointed stars.
8.
From one point, rule a line to the third point along. Repeat from every point, always counting the same way.
9.
Go over the outer edge in ink, from point to notch to point. Erase every line inside and the circle.
A sixteen-pointed star
Halve the eight parts of the eight-point construction once more, then join every sixth point.
1.
Start from a circle divided into eight (see the eight-point star tutorial).
2.
Keep the compass at the radius. From each point, draw an arc outside the circle: arcs from neighbouring points cross between them.
3.
Rule a line from each crossing to the centre. Where it cuts the circle is a new point, halfway between two old ones.
4.
Sixteen points, 22.5° apart.
6.
From one point, rule a line to the sixth point along. Repeat from every point, always counting the same way.
7.
Go over the outer edge in ink, from point to notch to point. Erase every line inside and the circle.
From a grid to a whole pattern
A single star is a rosette; a pattern repeats across a wall. A classical way to draw one, described by the naturalist E. H. Hankin in the 1920s after studying buildings in India, starts from a tiling: from the middle of every edge, draw two lines into each shape at a fixed angle and stop them where they meet. Here it is on plain squared paper, at 60°:
1.
Start from a square grid: squared paper, or a grid ruled with the ruler.
2.
Mark the middle of every edge.
3.
In one shape, draw two lines from each midpoint, leaning 60° from the edge, one each way. Stop each line where it meets a line from the next edge.
4.
Do the same in every shape. Lines from neighbouring shapes meet at the midpoints.
5.
Ink the new lines and erase the grid: the star pattern appears.
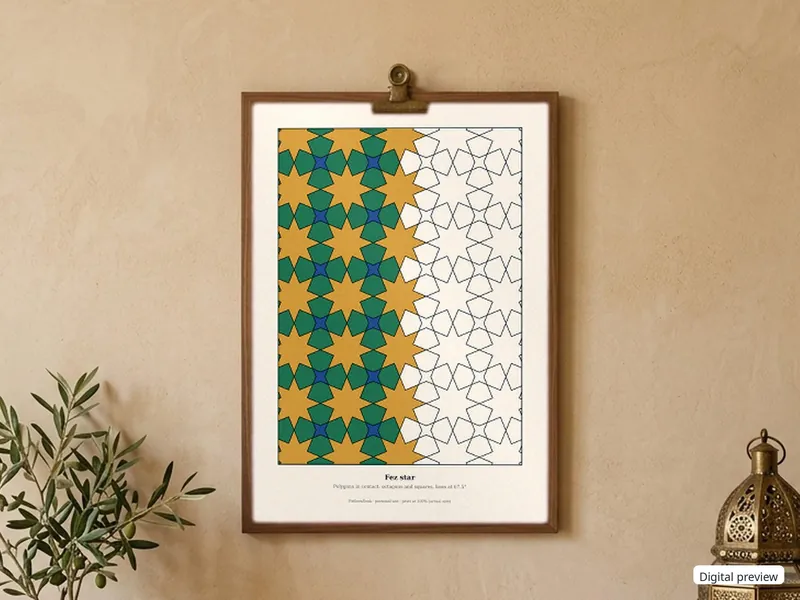
Change the tiling or the angle and a different pattern appears. The same octagon-and-square tiling gives both of the first two below; only the angle differs:
Octagons and squares, 67.5°
The Fez star pattern: eight-pointed stars ringed by petals.
Octagons and squares, 45°
The same tiling at a gentler angle: a lattice of crosses.
Squares, 60°
Squared paper alone: four-pointed stars and octagons.
Want to experiment without drawing? Our free zellige star designer builds these patterns live: change the tiling and the angle, colour the pieces, and download a cross-stitch chart. For the maths of tilings, see Islamic tessellations.
Free practice pages
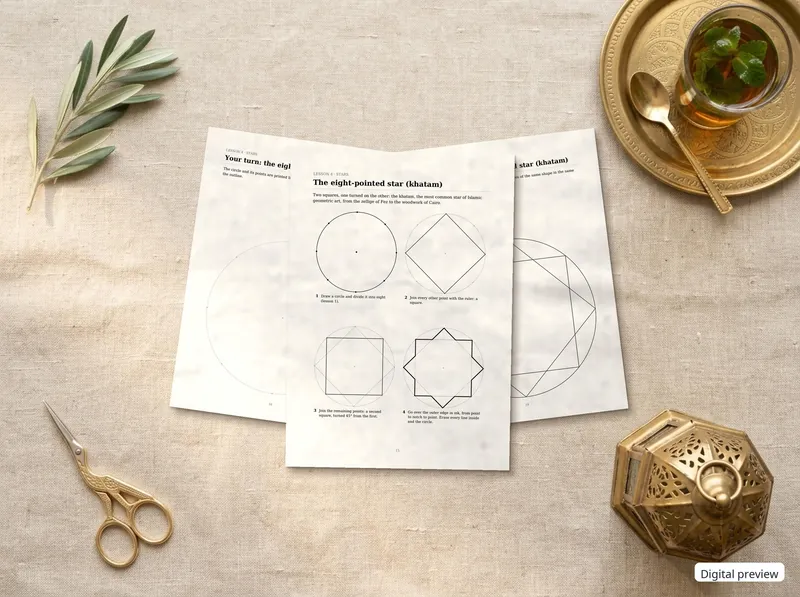
Eight pages from our workbook Draw Your Own Islamic Stars: what you need, dividing a circle into eight (with a trace-over page and a blank practice page), and the eight-pointed star step by step. Print at 100%.
Download A4 (PDF) Download US Letter (PDF)The full workbook has ten lessons, from dividing the circle to whole patterns: Draw Your Own Islamic Stars.
Pattern by pattern, with their names, sources and where they are found: our reference of Islamic and Moroccan patterns, starting with the khatam, the sixteen-pointed star and the star and cross pattern.
Where to see them
- Kashan, Iran, 13th century: lustre tiles shaped as eight-pointed stars and crosses, fitted together into wall panels (The Met).
- Granada, 13th–14th century: Nasrid stone and tile work, such as a carved panel combining eight-pointed stars with a Kufic inscription (The Met), and the tile dados of the Alhambra's Comares Palace, completed in 1370.
- Fez, 14th century: the zellige of the Marinid madrasas: al-'Attarin (1323–1325) and Bou Inaniya (about 1350–1355).
Geometry often shares a wall with calligraphy: read about Kufic script, the angular Arabic lettering that was sometimes built from the same grid.
Bring the patterns home
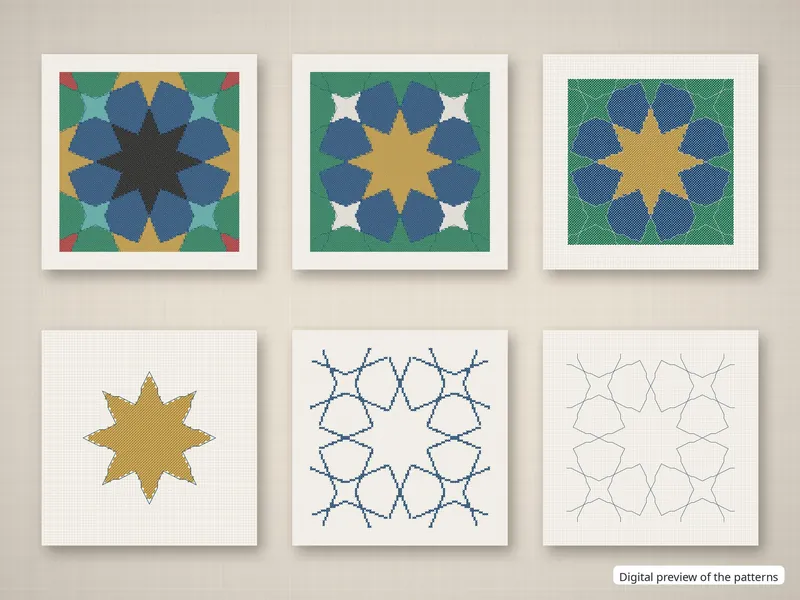
- Islamic geometric cross-stitch patterns, with charts verified cell by cell by our software
- Geometric coloring pages and three free ones
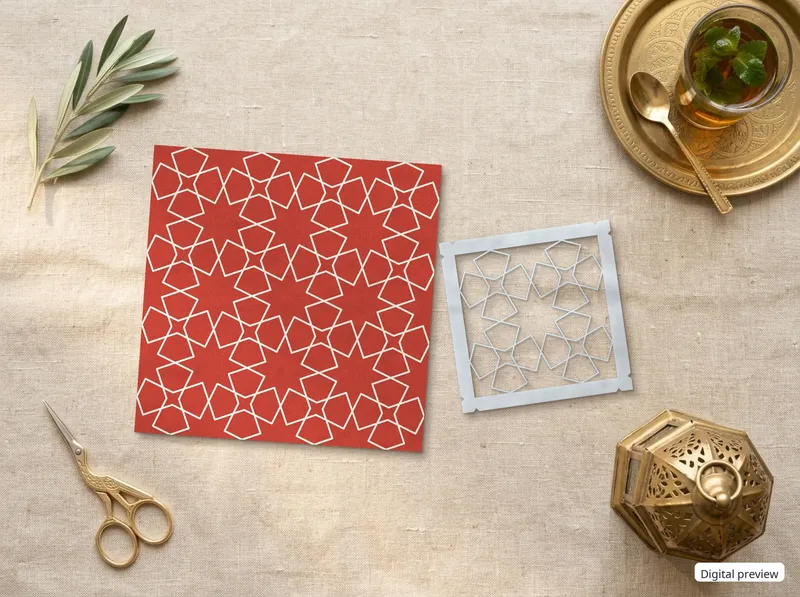
- Printable Islamic wall art and laser and Cricut cut files
Paperback on Amazon
Zellige & Girih: the colouring book
50 Islamic geometric star patterns in five levels, from bold Fez rosettes to ten-fold stars on a Penrose tiling, one design per page. 110 pages, 8.5 × 11 in.
Free Ramadan 2027 pack, by email
Calendar pages with the Hijri date in every day, day 1 of our Ramadan stitch-along and three geometric coloring pages. One email to confirm, a few useful ones before Ramadan, unsubscribe any time.
Get the free packQuestions about Islamic geometric patterns
What are Islamic geometric patterns?
Repeating designs of stars, polygons and interlacing lines, used on tiles, wood, stone, metal and books across the Islamic world. With calligraphy and plant scrolls, geometry is one of the three main kinds of non-figural decoration in Islamic art.
How are Islamic geometric patterns made?
With a compass and a straightedge. A circle divided into equal parts gives the stars; a grid of polygons gives the repeat. One classical method draws lines from the middle of every edge of a tiling at a fixed angle, and the stars appear where the lines meet.
What tools do I need to draw Islamic geometric patterns?
A compass, a ruler, a sharp pencil, an eraser and paper. A fine pen to ink the final lines and coloured pencils are nice to have.
What is the easiest Islamic geometric pattern to draw?
The eight-pointed star: two squares in a circle, one turned 45° on the other. Then try the star pattern on squared paper on this page, which needs no compass at all.
Where can I see Islamic geometric patterns?
For example in 13th-century star tiles from Kashan in Iran, in the Alhambra in Granada, and in the zellige of the 14th-century Marinid madrasas of Fez. Many museums, such as the Met in New York, show them online.
Do Islamic geometric patterns have a meaning?
No single meaning is documented. Museums describe them as decoration that stresses unity and order and can repeat without end; historians warn against reading one timeless symbolism into them.
Learn to draw these stars, free by email
Start with the eight-pointed star: a printable lesson with every compass step, a page to trace and a page to colour. A few short emails with the next lessons follow. Unsubscribe in one click.
We'll email you a confirmation link first.
Ready for all twelve lessons? Buy the workbook · $6 Workbook + 12 lesson videos · $12
Printable PDF, A4 and US Letter, an instant download. Checkout by Payhip.
Draw, color or stitch these patterns
Digital files, sold on Etsy; personalised ones are made to order from your details. The pictures are digital previews.